Prep time
Cook time
Total time
Author: Jackie Ourman
Serves: 10
Ingredients
- COOKIES:
- ½ cup (1 stick) unsalted butter
- ½ cup brown sugar
- ¼ cup granulated sugar
- 1 egg
- 1 tsp vanilla
- 1½ cups, gluten-free flour blend*
- 1 tsp baking soda
- ½ tsp cinnamon
- ½ tsp kosher salt
- ¼ tsp ginger
- 2 Tbl molasses
- ICING (Optional):
- 2 cups confectioners sugar
- 2-3 Tbl milk
- 1 tsp vanilla
Instructions
- Brown butter in a small sauce pot over medium heat, stirring constantly until milk solids start to separate, turn golden brown and fall to the bottom of the pot (about 4-6 mins)
- Immediately scrape out of pot into a large bowl and refrigerate until fully cooled (about 1-2 hours)
- Whisk flour, baking soda, salt, cinnamon and ginger together in a medium bowl and set aside
- Add sugars into bowl with the cooled brown butter and using a hand-held mixer, beat together. Start on medium and go up to high once fully incorporated and beat until light and fluffy (about 7-10 mins)
- Beat in egg and vanilla and scrape the sides, if needed
- Slowly add in the flour and mix on medium speed until just incorporated before adding the molasses. Continue to mix on medium speed about 1-2 minutes.
- Scrape the dough onto a large piece of plastic wrap, form into a disk about 1″ thick and refrigerate until firm, about 2 hours.
- Remove dough from refrigerator and heat oven to 350 degrees. You can either drop dough by 1 tablespoon rounds onto parchment paper, about 2″ apart and bake them as regular cookies or roll out the dough onto a surface sprinkled with gluten-free flour and make cutout cookies.
- If you make drop cookies, I recommend sprinkling them with brown turbinado sugar before baking.
- To make cutout cookies: roll the dough on a surface sprinkled with gluten-free flour until about ¼” thick and cut into whatever shapes you like. Once cut, you should refrigerate the shapes, on parchment, about 2″ apart for 10 minutes, until slightly firm, before baking. This will allow them to keep better hold their shape.
- Bake cookies about 10-12 minutes or until lightly browned at edges.
- ICING:
- Place confectioners sugar in a small bowl and whisk in milk, 1 tablespoon at a time, until you reach your desired consistency. Add in vanilla and transfer to a piping bag with whatever attachment you would like to use to decorate your cookies (I just cut a small hole in the bottom of my plastic piping bag to line these cookies).
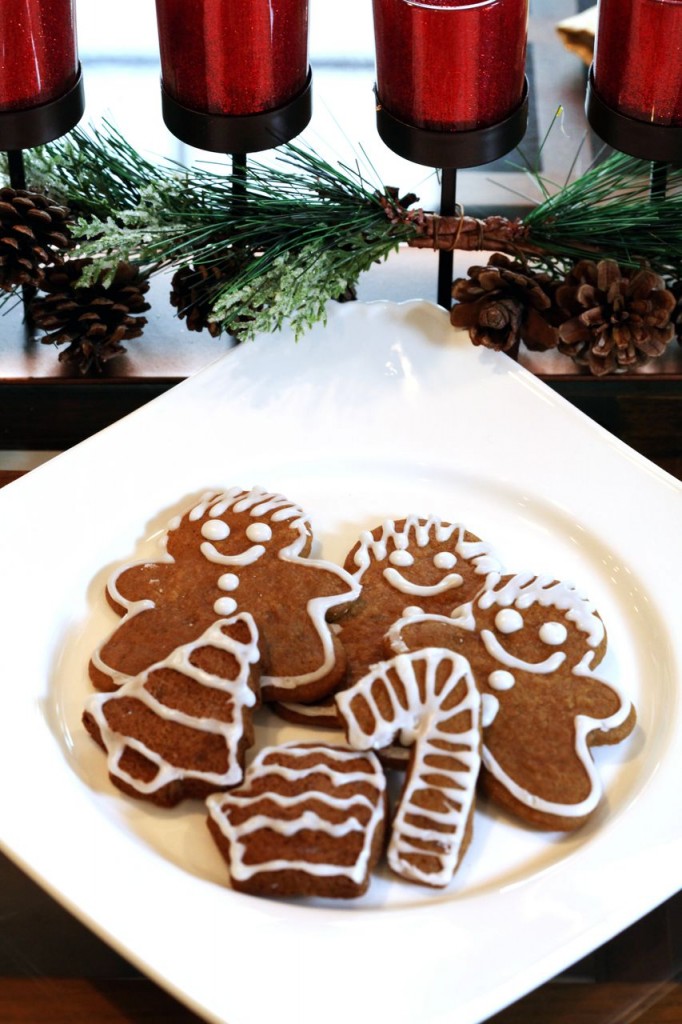
- Serve (or place next to the fireplace for Santa) and enjoy!


0 comments:
Post a Comment